Pages

Thursday, December 20, 2012

Santa, Are You Reading?

I keep an electric hand mixer around for small jobs or when I just don't want to lug out the heavy Kitchen Aid.  I've been nursing mine along for a while -- one of the beaters had a broken wire.  And then today:

That peppermint filling was just too much!

Hello Santa, are you reading?


UPDATE:
My lovely daughter got me a new KitchenAid handmixer for Christmas!  Yay!

Wednesday, December 19, 2012

A Dark and Stormy Christmas Cookie

Twas the week before Christmas and all through the house and kitchen, the cookies were baked and frozen -- to prevent the spouse from snitchin'!

Last week, when I shared my Orange Chocolate Chippers, I mentioned that I had tried another new cookie recipe this year.  I'll admit, I snitched one of these before I packed them away in the freezer.  Well, after all, a girl has to make sure they are edible before sharing them with the family, right?


I clipped the recipe for Dorie's Dark and Stormies from a Chicago Tribune 2008 cookie contest article, but I never tried them before.  Now I kick myself for waiting so long.  Easy to make and so chocolaty scrumptious.  The recipe is available online on page two of this article from the Tribune archives.  The recipe says it makes three dozen cookies, but somehow I only got two dozen.  I did not use Dutch process cocoa, I used regular Hershey's.  For the chocolate bits, I chopped up five ounces of Ghirardelli 60% cacao bittersweet chocolate.

You know you want one.

Monday, December 17, 2012

Crafty Christmas Touches

Once upon a time, I was a Christmas decorator at a local house museum.  It was then that I began making Christmas decorations.  A good friend was my decorating partner, and we had some crazy ideas.  Being co-chairs of the event, we even got to foist our crazy ideas onto the other decorators because we chose the themes.  One year was jewel tones. One year we insisted on all blue and silver.  There was some grumbling from decorators that it was more Hanukkah than Christmas, but the house was unique and sparkly.  Another year, we chose a prairie theme.  Now that was unique! We pulled an enormous dead evergreen wreath out of my garage and hung it in the rotunda.  All the needles were still on it and they had turned a marvelous copper color.  We put sheaves of wheat in the windows and tied dried cockscombs to the staircase.  A flower shop created a tree from corn husks for the library, as I remember.  The house was wild.  Visitors either loved it or hated it I guess, but they'd certainly never seen anything like it.

Anyway, being cheap and creative -- as an artist, she is much more more creative than I -- we made a lot of our decorations.  The rooms in the mansion are large with very high ceilings.  What we soon realized, is that large rooms eat your decorations up.  Something that looks huge at home looks puny at the museum.  So we made do.  One year we decorated the maid's room with food.  (I've forgotten what the theme was that year.)  We made cinnamon cookies that we loaded with lots of extra cinnamon for smell, and then decorated with glitter.  Not edible glitter, just glitter.  We also made gumdrop trees.  My daughter was especially fond of those gumdrop trees, so we used them at home the following year or so until they looked mangy, and later made new ones.  This year I found a few old gumdrop trees in the attic.  I don't know how old they are, but they are well past their prime.  Some of the gumdrops were falling off and the color was a little weird too.  But instead of throwing them away, I decided to "frost" them.
Awaiting their finishing touches of fresh greenery.
I am using a lot of white in our dining room this year, which started with the coffee filter wreath I showed you last week. I completed the buffet under the mirror with white Dresden angels my mother passed down to me this year, crystal candle holders with white candles, and a white poinsettia.  I had the idea that I wanted some white trees on top of the hutch on the other side of the room, and here were these old gumdrop trees.  First I gave them a lightish coat of white spray paint.  Spray paint doesn't cover gumdrops all that well, but I wanted some of the original color to show through, so that was okay.  Then I saw Nici at Posed Perfection's blog post about using Epsom salt to frost pine cones. Brilliant! I picked up three pounds of Epsom salt at Walgreen's for less than four dollars.  That's some cheap craft supplies!  I slapped Mod Podge on the gumdrop trees and coated them in Epsom salt.  I like the way they turned out.  I won't be able to save them, but that's okay, they were due for the trash anyhow.

Another little touch of white is my farm animal collection.  I made some of these last year after seeing them on Viva Revival, a great blog by Michelle, a jewelry designer and all-around creative gal.  I made a couple more this year because my little barnyard needed to grow.  Check out Viva Revival for the how to's.

The lighting isn't good, so you can't see that they are sparkly.  
The last item is a picket fence we use to keep Alfie from bumping into the food tree.  The husband made this from inexpensive wooden garden fencing.  We also have a single panel that he put "feet" on that we use to keep Alf out of the living room.  It's much cuter than the old baby gate we used to use!

I can see that I need to center the tree a little better in the fence.

Friday, December 14, 2012

Orange You Glad I Made Cookies?

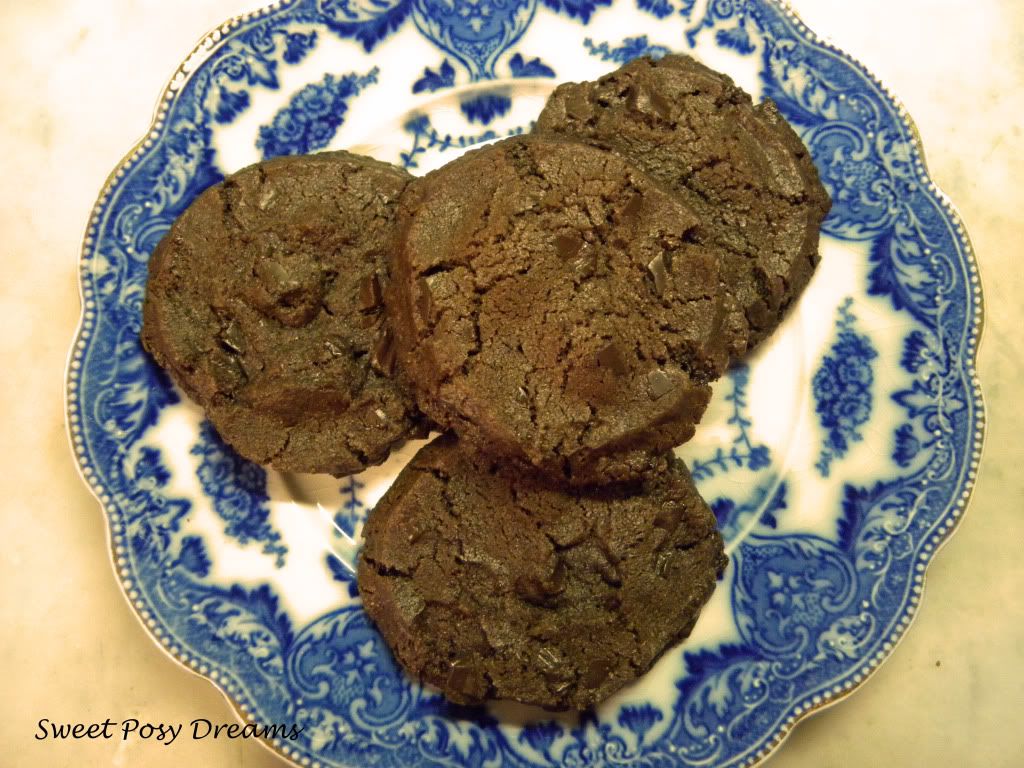
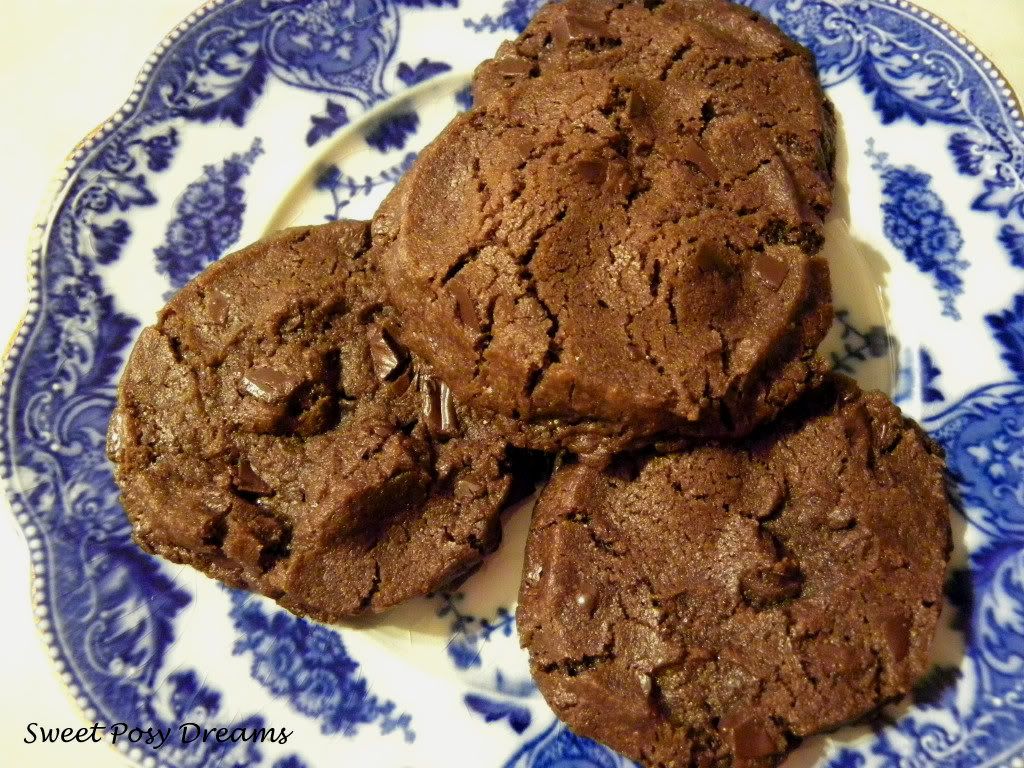
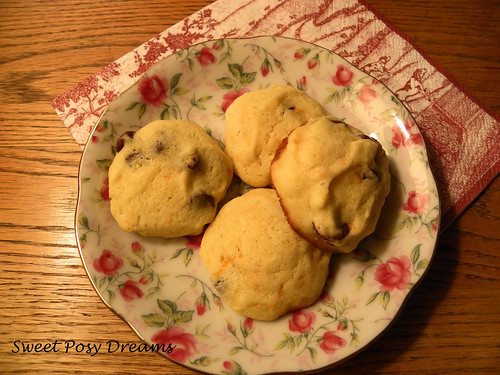
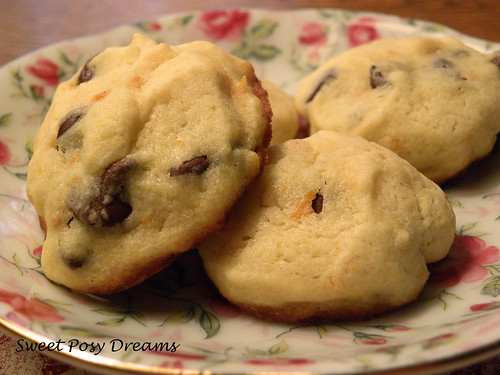
Remember that old knock-knock joke?  Orange you glad I didn't say banana?  Well, I made a new Christmas cookie that's no joke -- Orange Chocolate Chippers.

Christmas cookies are a big thing at our house.  There are some traditional favorites that I make every year, like the Italian Wedding Cookies, Candy Cane Cookies, and Butter Cookies that I shared with you last year.  I also like to add in something new.  Last year it was Martha Stewart's Cream Cheese Walnut Cookies, which became a favorite of the husband's, so they made it back onto this year's hit parade.

Orange chocolate chippers

This year, I added two cookies to the repertoire.  Today I'll share the first one, Orange Chocolate Chippers.  I found a recipe in an old-ish cookbook from my husband's uncle's collection.  The book has an insanely long title: Senior Pilgrim Fellowship, United Church of Christ, Beacon Falls, Connecticut.  If there was another title, it didn't leap out at me.  This is one of those great cookbooks where all the ladies contributed their favorite recipes to raise money for their organization.  I like this kind of cookbook because the recipes are not trendy or "foodie;" they are tasty, do-able recipes that regular women made for their families and bridge clubs.  

When I saw the recipe for an orange and chocolate cookie, I knew I had to try it.  I changed the original recipe a little bit to include orange juice and baking powder.  I used orange peel and juice from some fruit my father-in-law had sent from Florida.  I don't know what variety they were, but they were not navel oranges; they were much more flavorful.  In looking at the website of the grower where he shops, I think they might have been Robinson tangerines, which is a cross of 3/4 tangerine and 1/4 grapefruit.  With navel oranges, I don't think you'd get the same strong citrusy pop that my cookies have, so I recommend tangerines or tangelos to really get that citrus flavor.


Orange Chocolate Chippers
Adapted from Audrey Gendron’s recipe in Senior Pilgrim Fellowship,
United Church of Christ, Beacon Falls, Connecticut cookbook, 1982

Orange chocolate chippers closeup
1 cup shortening
1 cup sugar
3 oz. cream cheese, softened
2 eggs
2 tablespoons grated orange/tangerine peel
1 teaspoon vanilla
1 teaspoon fresh orange/tangerine juice
2 cups flour
1 teaspoon salt
1/4 teaspoon baking powder
1 cup semisweet chocolate chips

Preheat oven to 350 degrees F.

Sift together flour, salt, and baking powder; set aside. 

Cream shortening, sugar, and cream cheese.  Add eggs, orange peel, vanilla, and orange juice.  Beat well.  Add flour mixture to creamed mixture.  Mix well.  Stir in chocolate chips.  Drop by rounded teaspoonfuls onto greased cookie sheet.  Bake about 7 minutes at 350 degrees F.  Cool on wire racks.

Makes approximately 56 cookies.


Printable recipe


Tuesday, December 11, 2012

Measuring Out My Days with Coffee Filters

filter wreath closeup
With apologies to T. S. Eliot and J. Alfred Prufrock, I cannot measure out my life with coffee spoons because I don't drink coffee. Recently, however, I measured out a couple of days with coffee filters.

For the last several years, I have hung a white feather wreath on our dining room mirror at Christmastime.  Loved that wreath; I got it at a local gift shop long before feather wreaths were at the big box stores and everywhere else.  With each succeeding year though, the wreath got a little more bedraggled.  This year, I decided sadly that I really shouldn't bring it back out. What to replace it?


I liked the look of some of the coffee filter wreaths I've seen on Pinterest, and it sounded easy, so I got the supplies and got to work.
filter wreath supplies
coffee filters, glue gun, glue sticks, old t-shirt, scissors, straw wreath
No matter how good my iPod playlist is (and, honeychild, I have some good stuff on there), there is a limit to how long at one sitting I can fold and crunch filters and burn my fingers with hot glue, so it took me part of two or three days to complete my wreath.
filter wreath collag
wrapped in t-shirt strips                                                               the inside edge of glued filters
I'm not going to write a tutorial since there are scads of them online already.  I will just say I used a fourteen-inch straw wreath, which I wrapped with strips of old t-shirt, and about 280 filters.  I started out trying to place the filters in rows like the tutorials suggest, but I wound up just sticking them in as close together as I could, which no doubt explains some of the finger burns.
filter wreath back
back of the wreath
After I had glued on as many filters as I could, I trimmed the edges slightly, but my wreath is not perfect.  It's kind of cockeyed, which suits me just fine as I'm a bit cockeyed myself.  I initially planned a ribbon hanger wrapped around the wreath, but soon scrapped that and filled the entire thing with filters.  I attached a length of ribbon to the back with straight pins and hot glue.  I used one of those cool 3M Command hangers directly on the mirror.  In years past, I took the mirror down and hung the feather wreath from a ribbon taped to the back of the mirror.  The 3M hook was so much easier -- love that!

filter wreath on mirror


For those of you who have been wondering why I haven't posted lately, I have indeed been busy, but I had also run out of photo space (again!) on Picasa.  I am now trying a Flickr account.  I hope this will be the ticket.